–Picture-perfect chicken slices 🍗How to carve a chicken
Unlock the art of carving chicken with our handy step-by-step guide — this is one skill all meat lovers should master! Next time you're tasked with carving, wield your knife with the confidence and finesse of a master chef.

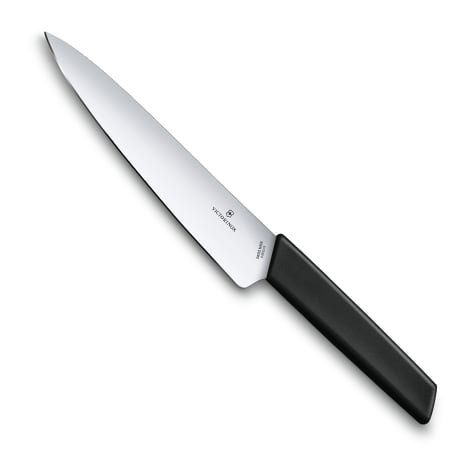
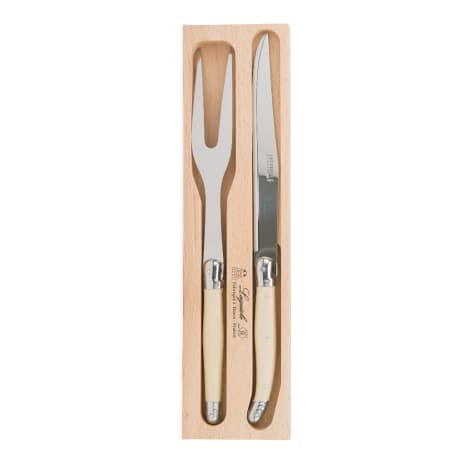
Most popular Carving Knives & Sets
Once your chicken has finished cooking, let it rest for about 10 minutes, this will allow the meat to relax and ensure it’s nice and juicy — it will also make carving easier. All you're going to need to get started is a carving knife and fork and you're ready to go. Make sure your knife is nice and sharp!
Step 1.
The carving fork’s job is to hold the bird steady. Always start by dividing the two legs from the carcass. Do this by cutting through the skin and flesh between the body and the leg. Look for the joint so that you remove the whole leg. Do the same on both sides.

Step 2.
Cut through the joint between the drumstick and the thigh. It should be easy to make this cut, if it’s not, change the position of your knife.

Step 3.
Now for the wings. Bend the wing away from the body and use your knife to search for the joint, cutting through. Do the same on both sides.

Step 4.
To remove the breast meat, cut along the breastbone with the tip of your knife. Work the knife along the breastbone to gently lever off the breast meat. Repeat on both sides.

Step 5.
Cut the breast meat into slices.

And make sure you don’t miss the best bit of all, the chicken oysters — they are found at the back of the carcass, at the very top of the thigh and should be gobbled up before the chicken hits the table.
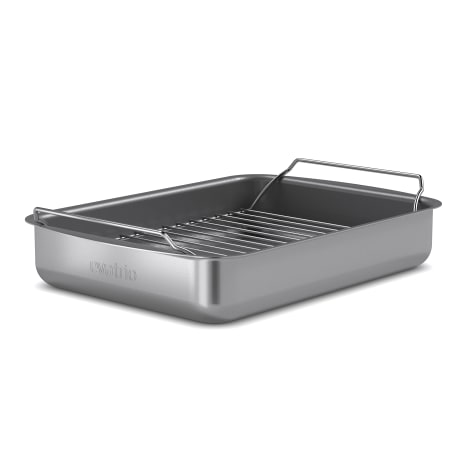
Most popular Roasting Pans

Insider tip — you can keep your carcass and boil it in a large pot with carrots, onion and celery to create a delicious stock, perfect for cooking your favourite dishes.
And there you have it, how to carve a chicken in a few easy steps. Happy carving!


