–Behold, the magical Moka ☕The Moka Pot Revolution: Must-know secrets for brewing amazing coffee
Making great coffee for a reasonable price in the comfort of your own home has never been so easy thanks to Alfonso Bialetti, the inventor of this tasteful device and Luigi De Ponti the designer. With elements of Futurism and Art Deco, the moka is a symbol and an icon of Italian coffee culture, simply using water pressurised by steam to brew a strong espresso-style coffee.
Understanding your moka will allow you to make great coffee with ease as well as care for it in a way that will last you a lifetime.
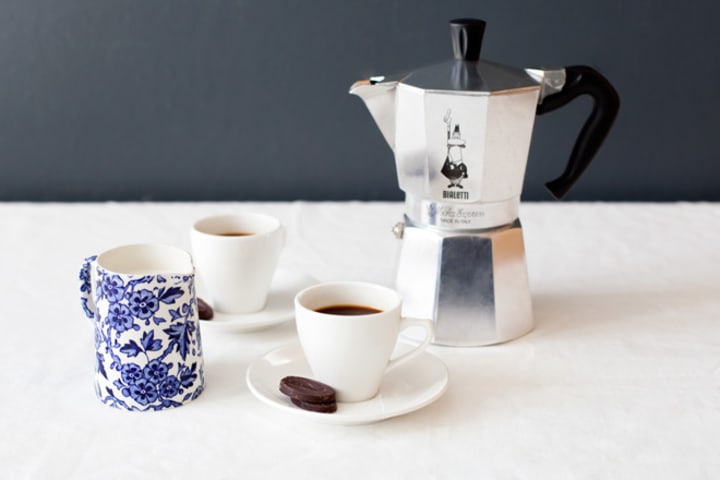
The three major components that make this device up are:
- A lower chamber
- A metal filter tunnel
- An upper collection chamber with a removable filter
Your metal filters and rubber seals should be changed when you notice them degrading/clogging, replacement parts are available for this.
When you are going to brew your espresso-style coffee, the bottom chamber is filled with water and the metal filter is set into this bottom section and filled with coffee grounds. The final top chamber is then screwed on top. From here the magic begins, the pot is placed on the stove and when the water reaches boiling temperature, the steam creates a pressure that forces the water through the coffee sitting in your metal filter funnel. The coffee is then pulled through into the top chamber after it condenses. Once the bottom chamber is almost empty you’ll hear gurgling noises.
But how do you make the perfect cup?
Firstly you should focus on the right coffee grind, the roast is up to you. A medium-fine grind is a good starting point. Always remember a grind too fine can result in a bitter coffee and it can block up your Bialetti or Moka. The 4.5 setting on the Krups Burr Coffee Grinder works for us. If you are buying ready-ground coffee, the finer consistency coffee for stove top coffee making is ideal.
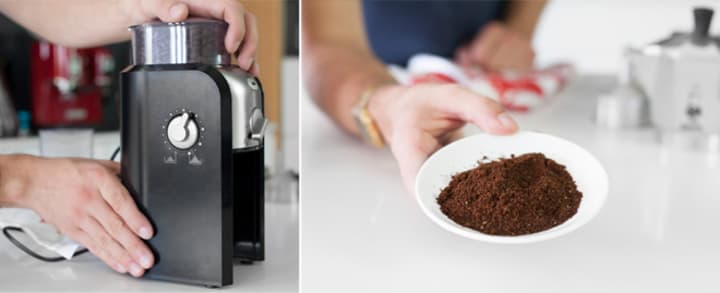
You can prepare the heat source to a medium temperature, too hot will result in coffee you do not want to drink. Always make sure that you don't let flames lick over the edges of your moka, the flame must stay under the lower chamber base.
From here, fill up the base/lower chamber with water which can be almost boiled which will help with a smoother extraction, always make sure that the water line is below the safety valve.

Insert your funnel and loosely fill the space with your favourite coffee. You are almost ready to begin brewing but remember, never tamp the coffee down when making coffee with a moka, it affects the extraction. You can gently clean it up with a finger and then simply screw the top chamber firmly into place and you are ready to place it onto your heat source.

Most popular Moka Pots
Latest Moka Pots
Most popular ground coffee
A pro tip: Use a glove or cloth when screwing or unscrewing to avoid burns.

Carefully watch the moka for the first spout of coffee, from here a thick golden syrup will pull through. Once it starts to look lighter take it off the stove — over-extraction will create a bitter and burnt coffee taste. It's recommended to handle the pot with care when removing it from the heat source. A useful technique is to place it on a slightly damp and cool cloth before pouring the coffee into your chosen cups.

With a little practice and experimentation, you'll be brewing the perfect moka in no time! Browse our range of moka pots on Yuppiechef.

