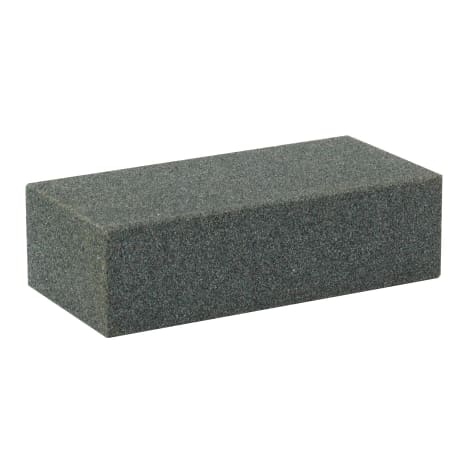
–How to use a whetstone
Maintaining a sharp kitchen knife is a must, and a whetstone is often the preferred choice for passionate cooks and pro chefs. Unlike a sharpening steel, a whetstone grinds and hones the blade with two different grits, creating a sharper and more durable edge for efficient cutting.
It takes some time and patience to master the skill, but once you do, say goodbye to the hassle of a dull knife for good.
Take a look at this video and learn how to use a whetstone. We’ve also laid out a step by step tutorial below.
-
Step 1. Submerge your whetstone in water for between 10 to 15 minutes.
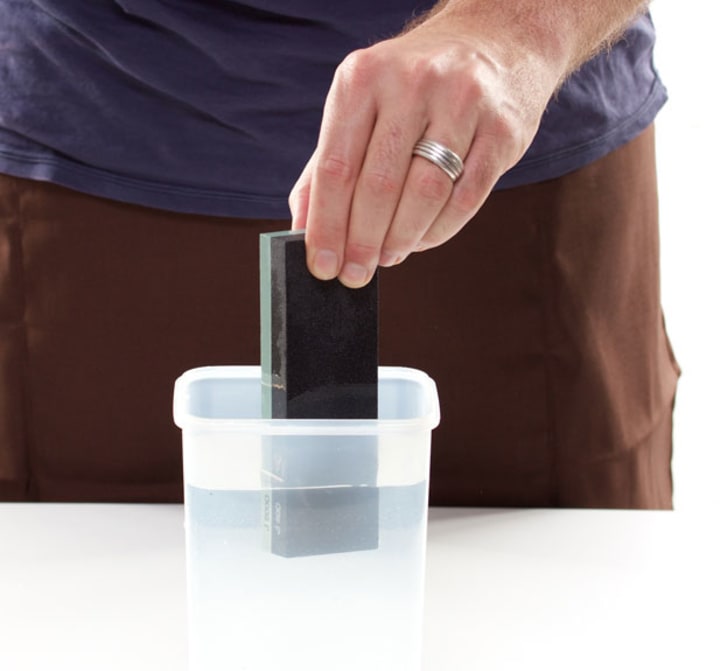
Whetstones come with different grits or grains (kind of like sandpaper), and you can usually find the numerical grit value on the packaging or directly on the stone itself. A coarse grain (a lower number) will efficiently grind the metal off the knife. On the other hand, a finer grain (a higher number) will smooth and refine the blade, resulting in a sharper and long-lasting edge.
Some whetstones (like the one pictured here) have two different grains, each with its numerical value printed or stamped on the stone.
Step 2. Place the whetstone onto a tea towel or a surface on which it will not slip. Place it with the coarse grain facing up.
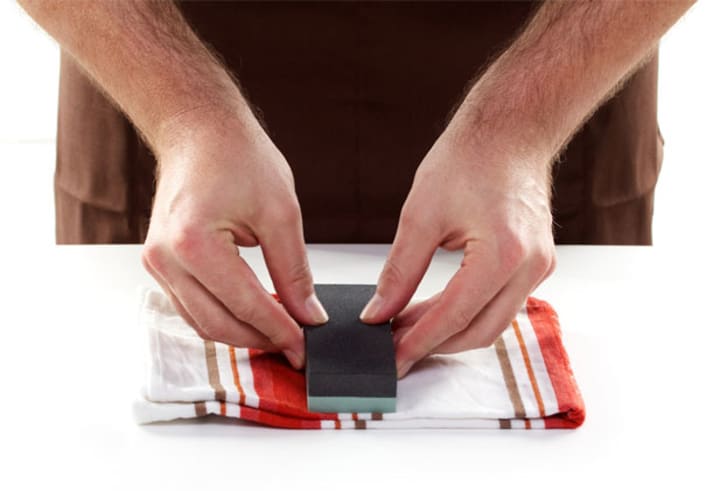
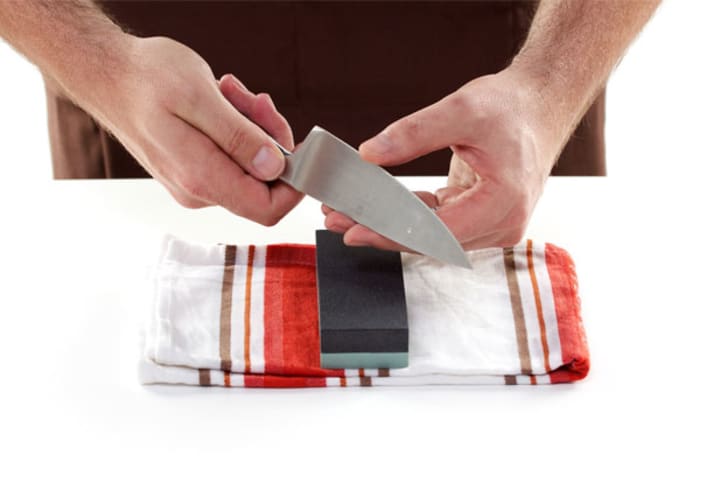
Step 3. Hold your knife firmly. Place your blade at an angle of approximately 20° to the whetstone. To get this angle, place your knife at 90°, halve this to 45° and halve again.
The angle of your blade is important and some knives will require slightly different angles (for example, Japanese knives) so you may need to do some further research on your particular knife's angle.
German or European knives are usually sharpened at an angle of 20° to 22°.
Japanese knives are usually sharpened at an angle of 10° to 15°.
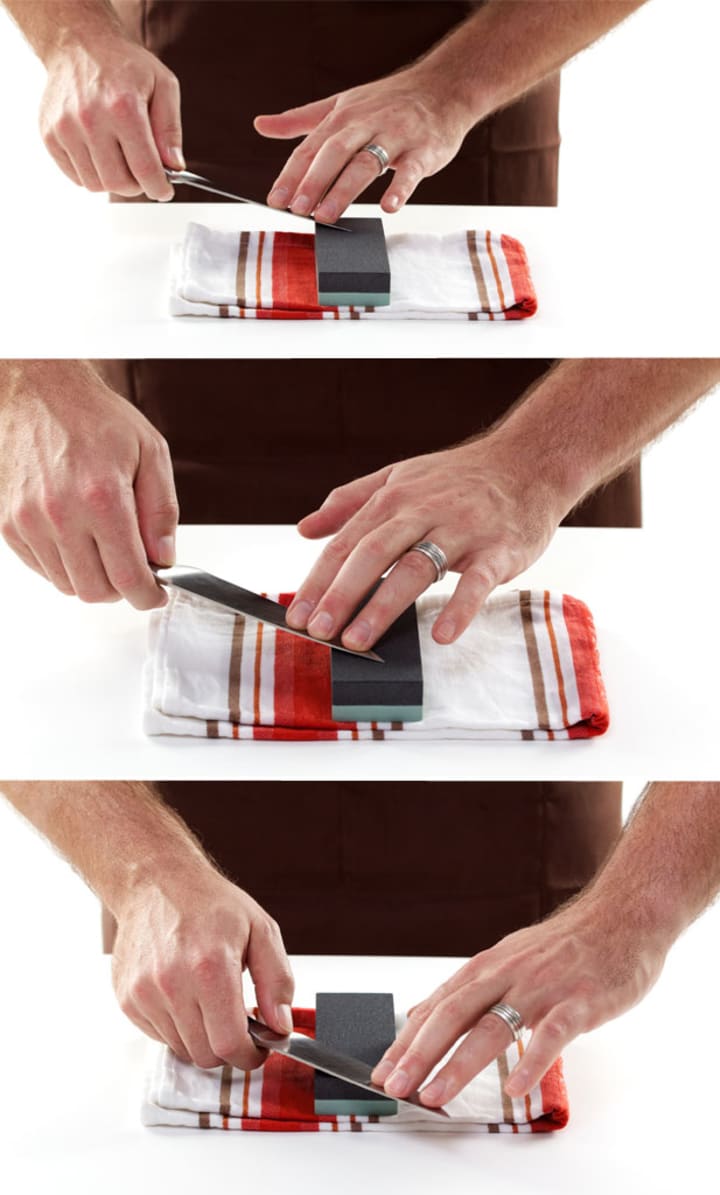
Step 4. Place an even and gentle pressure on your knife and draw the blade along the stone from tip to heel. Repeat a couple of times, then turn the knife over and repeat on the other side. It’s important to repeat exactly the same process on the other side of the knife (unless you are dealing with a Sashimi knife or something similar which will require more technique).
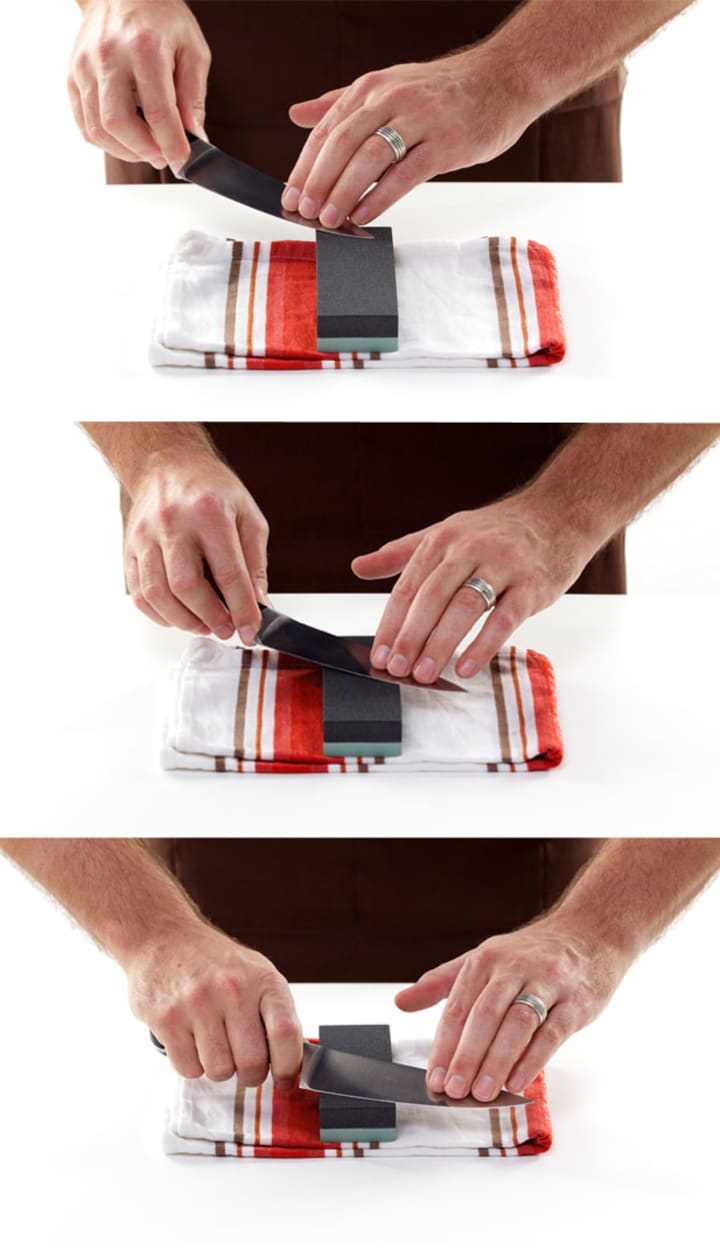
Step 5. Test your knife (be careful not to cut yourself). You can test it using some fruit instead of your finger!
Step 6. Turn over the whetstone and repeat the process using the finer grain.
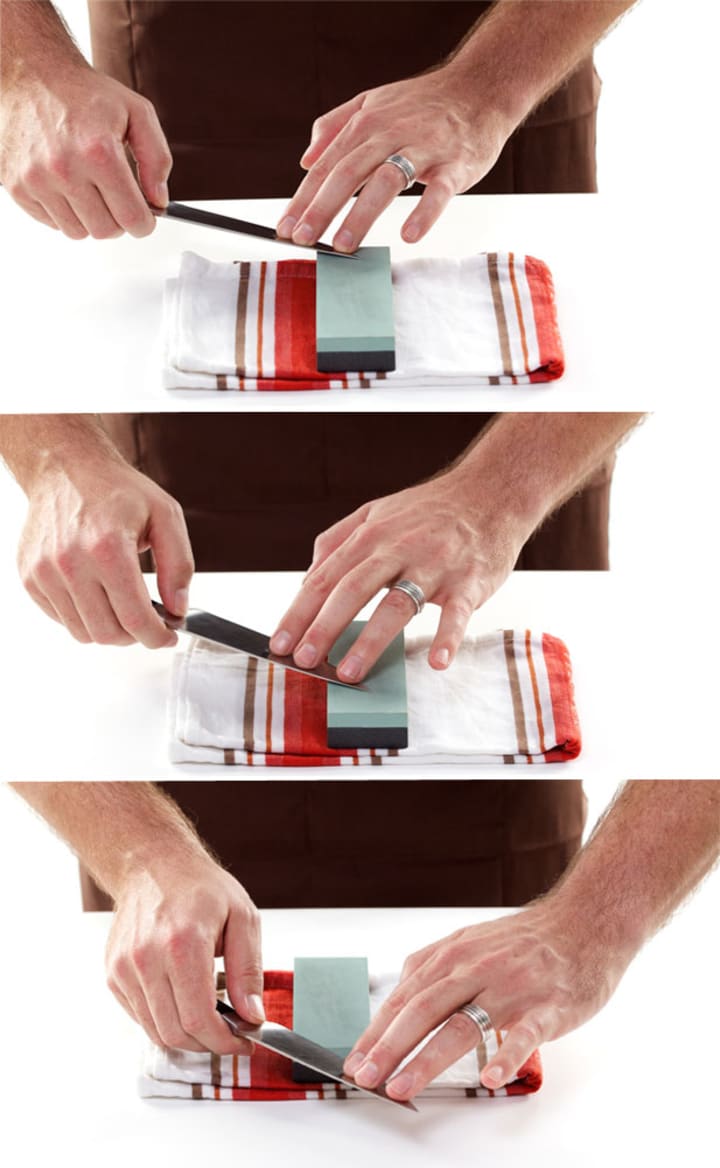
Step 7. Repeat the process on both sides of your knife.
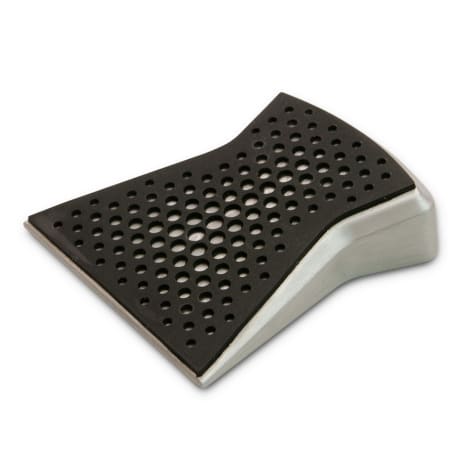
Whetstones are a great option for keeping your knife collection in top nick but don’t get too carried away and over-sharpen your knives or place too much pressure on the blade. The angle you place your knife on the whetstone is important, so do some research before you grind away if you have a particularly fancy knife. Some whetstones come with handy angle guides.
You don't have to use a whetstone all the time, just when your knives get dull and need a good sharpening.


