How to make red velvet cupcakes

Ingredients (makes 12):
For the cupcakes:
80g butter (room temperature)
200g white sugar
80g egg (2 small eggs or 1 jumbo)
30g cocoa powder
60ml water
2 dollops red food colouring gel
160ml buttermilk
200g flour
1 Tbsp spirit vinegar
3/4 tsp bicarb
1 tsp vanilla essence
A pinch of salt

For the icing
250g full fat cream cheese
80g icing sugar (sieved)
1 tsp vanilla essence
Method:
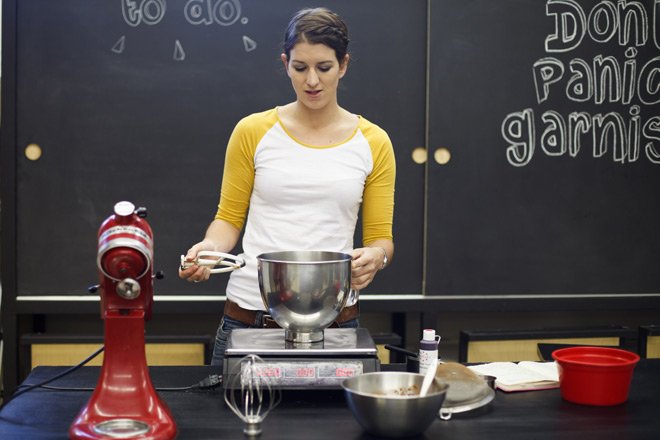
1. Turn your oven onto 180ºC. Put the butter and sugar into a freestanding electric mixer and beat until light and fluffy. Turn the mixer up to high and slowly add the egg. Leave to mix until you have a smooth mixture.

Did you know that eggs vary in volume? A small egg can weigh 45g whereas a jumbo egg can be closer to 75g. For the fluffiest cupcakes, break two eggs into a bowl, beat them together and then weigh out 80g of mixed egg yolk and whites.
2. In a small bowl, combine the water, cocoa and food colouring and mix it until a paste forms.
3. Turn the mixer down to a slow speed and incorporate the cocoa paste into the egg mixture and allow it to mix completely. Make sure you scrape down the sides of the bowl to avoid uneven mixing.
4. Once you have a smooth mixture, slowly pour in half of the buttermilk and beat in completely. Add half of the flour and beat in completely. Pour in the remaining buttermilk and flour respectively and allow to mix to a smooth consistency.

5. Next add the bicarb, vinegar, vanilla essence and salt and beat until well mixed, turn the speed up once more and allow the mixture to really beat well making sure all the ingredients are completely combined.
6. Place 12 cupcake holders into your cupcake tin and distribute the cupcake batter evenly between them (the batter should fill 2/3 of the cup). If you are making a bigger batch and you end up with not enough to fill all the cupcake holes, fill the remaining ones with a little bit of water. This ensures that the heat distributes evenly through the pan, instead of scorching the outside of the few in that pan.
7. Put the cupcakes in the oven and bake for approximately 20 minutes or until the sponge bounces back when touched. Leave to cool.

8. Time to make the icing. Beat the cream cheese until it has softened. For true red velvet cupcakes, you simply have to go with the fullest of full cream cheeses. You won’t regret it.

9. Beat in the icing sugar 1 tablespoon at a time, then add in the vanilla essence. Leave the icing to beat until a light and fluffy consistency has formed.

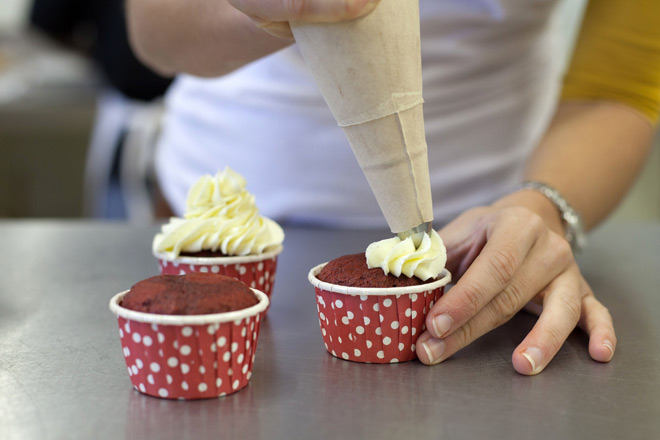
10. Put the icing into a piping bag and pipe onto cooled cupcakes. Most icing bags don’t come with a handy stand so Lexi cleverly uses a Le Creuset container to prop the bag into while filling it with icing.

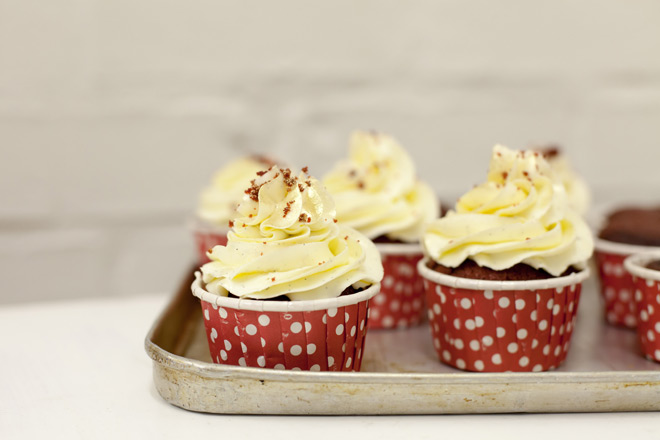
11. Once you’re finished icing your cupcakes you can use some red velvet crumbs to decorate the cupcake. For an extra bit of pizazz, gold dust is a fuss free trick. Just dip your finger in some and gently blow it over one side of the cupcakes.

And there you have it. The fluffiest of red velvet cupcakes with a decadent dollop of cream cheese icing. When you’re feeling vanilla, this is your cure. It’s why dare devils prefer red Ferraris and romantics choose red roses.
With special thanks to Lexi of Ma Mère Maison for her delicious recipe.
