How to make a flat white
Although similar to a cappuccino, these two caffeinated drinks are by no means the same. A cappuccino consists of espresso, hot milk and is topped with foam (that’s usually the larger bubbled frothy milk that needs to be spooned off because it’s so light). A flat white, however, is espresso blended only with velvety microfoam.
The flavour of your flat white will be determined by the quality of your espresso and the temperature and texture of the milk. Head this way for tips on pulling the perfect espresso.
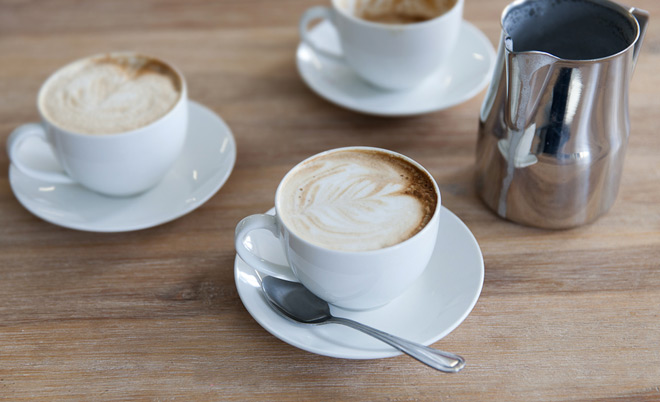
The trick to pouring a great looking flat white, with beautiful latte art, lies in the creation of microfoam: steamed milk with a thick, velvety texture and no large bubbles. The better your steamer, the better your microfoam.
Here’s how to make perfect microfoam:
1. Pour as much milk as you need, one cup for each cup of coffee you are going to prepare. Keep in mind that when you have finished steaming, the volume will have almost doubled. The Rancilio Silvia is capable of steaming a large jug of milk which will be enough for two or three cups depending on how milky you like your coffee.

2. Purge the steam wand by turning it on briefly; this expels any excess water sitting in the system.

3. Position the tip of the steam wand just below the surface of the milk at about a 15 degree angle. Turn the steamer on to full pressure.

4. Stretch the milk by playing with its surface with the tip of the steam wand. The volume of the milk will slowly increase, be sure to keep the tip of the steam wand just submerged. It’s a delicate motion which takes a few seconds depending on your machine and it should sound like a sheet of paper tearing.
5. After the volume has increased by about two thirds, submerge the tip further below the surface of the milk. Hold the jug at an angle that creates a furious spin, mixing in the fine air bubbles you have created as thoroughly as possible. Keep your hand on the side of the pitcher during the process, when it becomes too hot to touch, you’re done. This should be roughly 67°C, a thermometer can come in handy here, too.

6. Once you’ve removed your pitcher, purge and wipe the steam wand with a damp cloth. This ejects any residual milk and prevents it from burning a nasty mess into the steam wand.
7. Swirl and knock the pitcher once or twice to dislodge any large bubbles. The ideal texture should resemble glossy, wet paint.
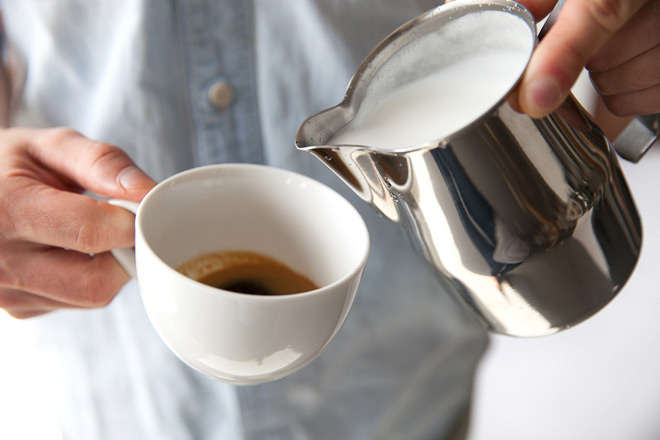
8. Pour your milk as soon as possible before it has the chance to separate. Hold the jug close to the surface of the espresso and pour confidently.

Place a finger on either side of the jug for better control. The slightest tip of the wrist will result in latte art, the signature of the practiced barista.

Remember, the temperature and texture of the microfoam is key – it takes a bit of practice to get the knack of but, once you have mastered the technique, the rewards are sweet.

Head this way to check out our range of manual coffee machines and milk pitchers.
And of course what would a cuppa be without some top quality beans?

